|
Rotators allow you to take a single link and distribute incoming clicks across multiple destination URLs.
This makes them a great option when you want to rotate traffic between different offers, partners, or landing pages without having to constantly swap links.
It’s important to note that rotators are not designed for split testing. ClickMagick TrueTracking has a dedicated split testing function built specifically for optimizing your pages, while rotators are intended for more general use cases.
Typical examples include affiliate marketing - where you might want to promote several offers with one link - or simply spreading traffic among multiple URLs for convenience or logistical reasons.
How Do I Set Up a Rotator?
Go to the Rotators page and click on the button that says “Create a New Rotator”.
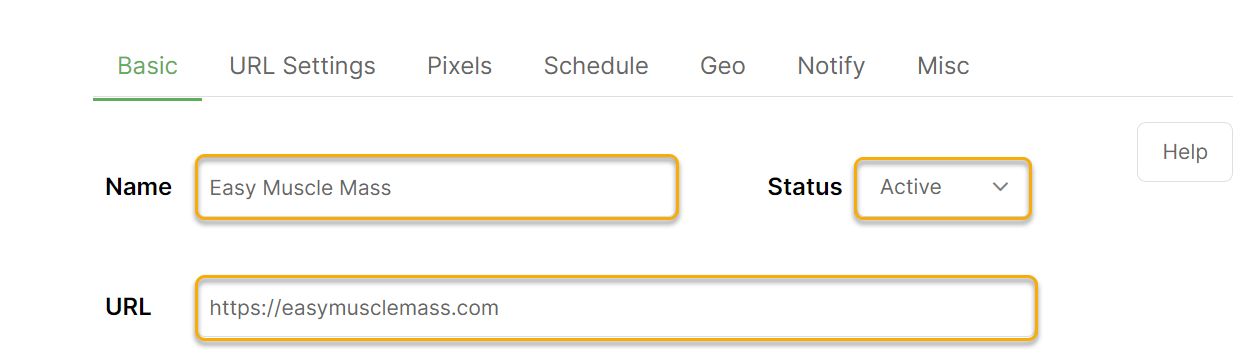
The first thing you have to do is enter the “Rotator Name” and “Rotator Link Slug”:
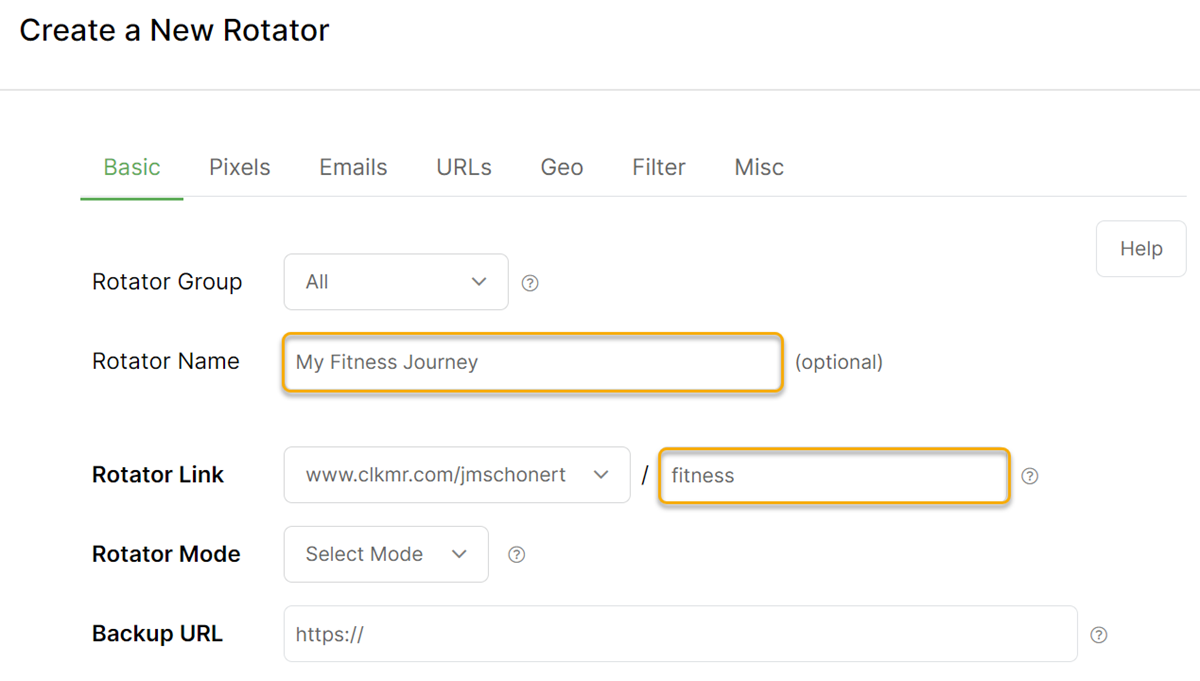
The “Rotator Name” is optional and for your reference only.
The “Rotator Link Slug” is a word that goes at the end of your rotator link, and must be between 4 and 20 characters, using only use letters, numbers, and hyphens.
Next, select the “Rotator Mode”:
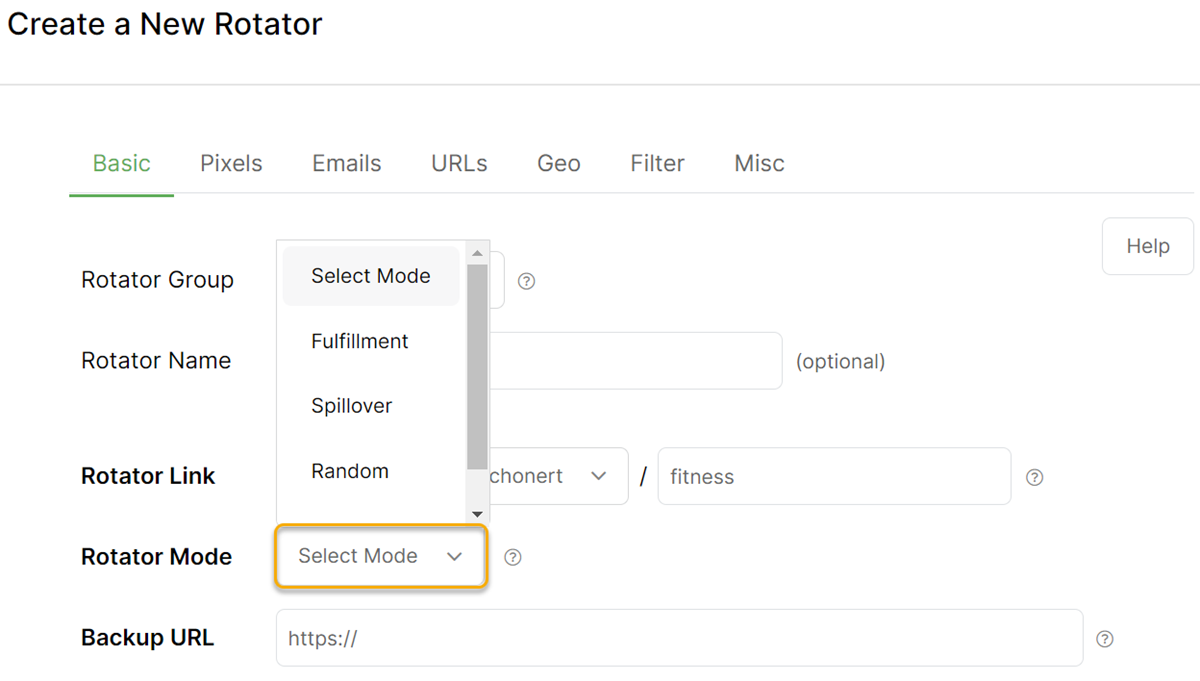
We also have an article that covers these four different ways that you can set up rotators to distribute clicks. For more on that read:
What are the 4 different rotator modes?
Lastly, enter the “Backup URL”, which is the URL to which clicks are sent if there are no eligible rotator URLs based on your settings.
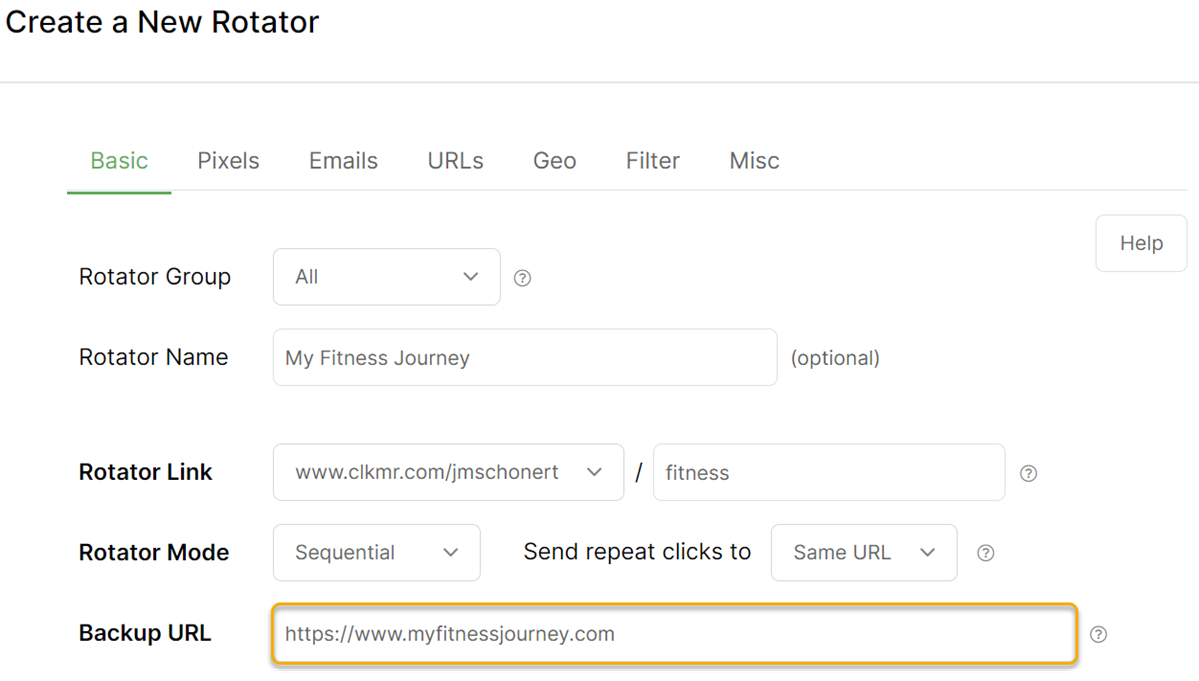
Finally, save your rotator.
Now you’re ready to add URLs to your rotator. Clicks will be sent to these URLs based on your rotator settings.
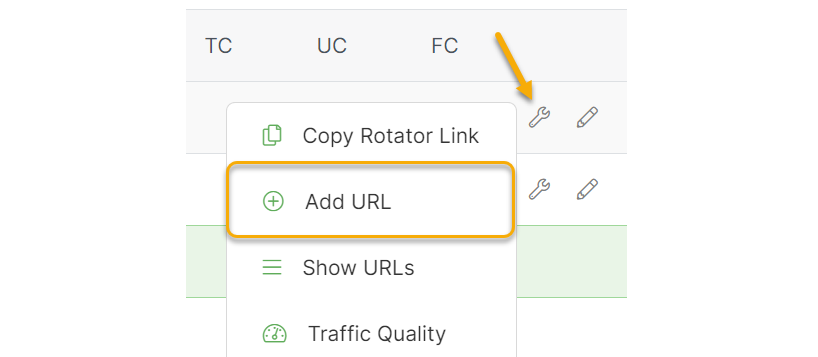
Add URLs to Your Rotator
Click on the menu at the far right of your rotator and select “Add URLs”:
Enter a name for your new rotator URL, set its status to “Active”, “Paused” or “Archived”, and finally, enter the URL that you want your clicks to be redirected to as they come in.
Next, click on the URL Settings tab to specify any specific limitations you want on how clicks are delivered to the URL. You can read about all of the optional rotator URL settings in this article:
What are all these additional settings for rotators?
There are lots of additional settings and features when setting up rotators, but creating a basic rotator is as simple as taking the steps shown in this article.
iOS devices
Mobile devices
Geotargeting in the Advanced Settings of the Rotator
Rotator URLs (Pixels settings are fired here)
Geotargeting in the Rotator URLs
How Do I Set Up a Custom Tracking Domain?
While you were creating your rotator, you may have noticed that you had the option to select a custom tracking domain.
If you want to use a custom domain for branding purposes you can easily set that up with ClickMagick.
Also, if you’re planning to use Smart Links on Facebook or in email messages, then you need to use a custom tracking domain.
Setting up a custom tracking domain is a one-time setup and is relatively simple to do. Just follow the steps in this article:
How do I set up a secure custom tracking domain?
Can I use ClickMagick to shorten links?
Article 561 Last updated: 10/15/2025 12:53:13 PM
https://www.clickmagick.com/kb/?article=561